Registering analytic workflows
Understanding Applications and Workflows
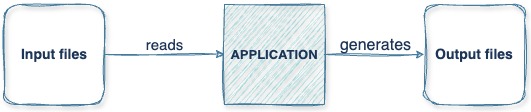
What is an Application?
An application (also called a processor) is a containerized (Docker) application that takes input, processes it, and generates output. Applications can be written in any programming language, with Python and R being the most common choices.
What is a Workflow?
A workflow is a collection of applications or processors that are executed in a specified order. The platform currently supports three-processor workflows that combine:
- Preprocessor: Prepares data for analysis
- Processor: Performs core analytical functions
- Postprocessor: Handles output refinement
Registering Individual Applications
Step 1: Access the Application Registration Interface
- Navigate to the Analysis View in Pennsieve
- Select the Applications tab
- Click Create Application
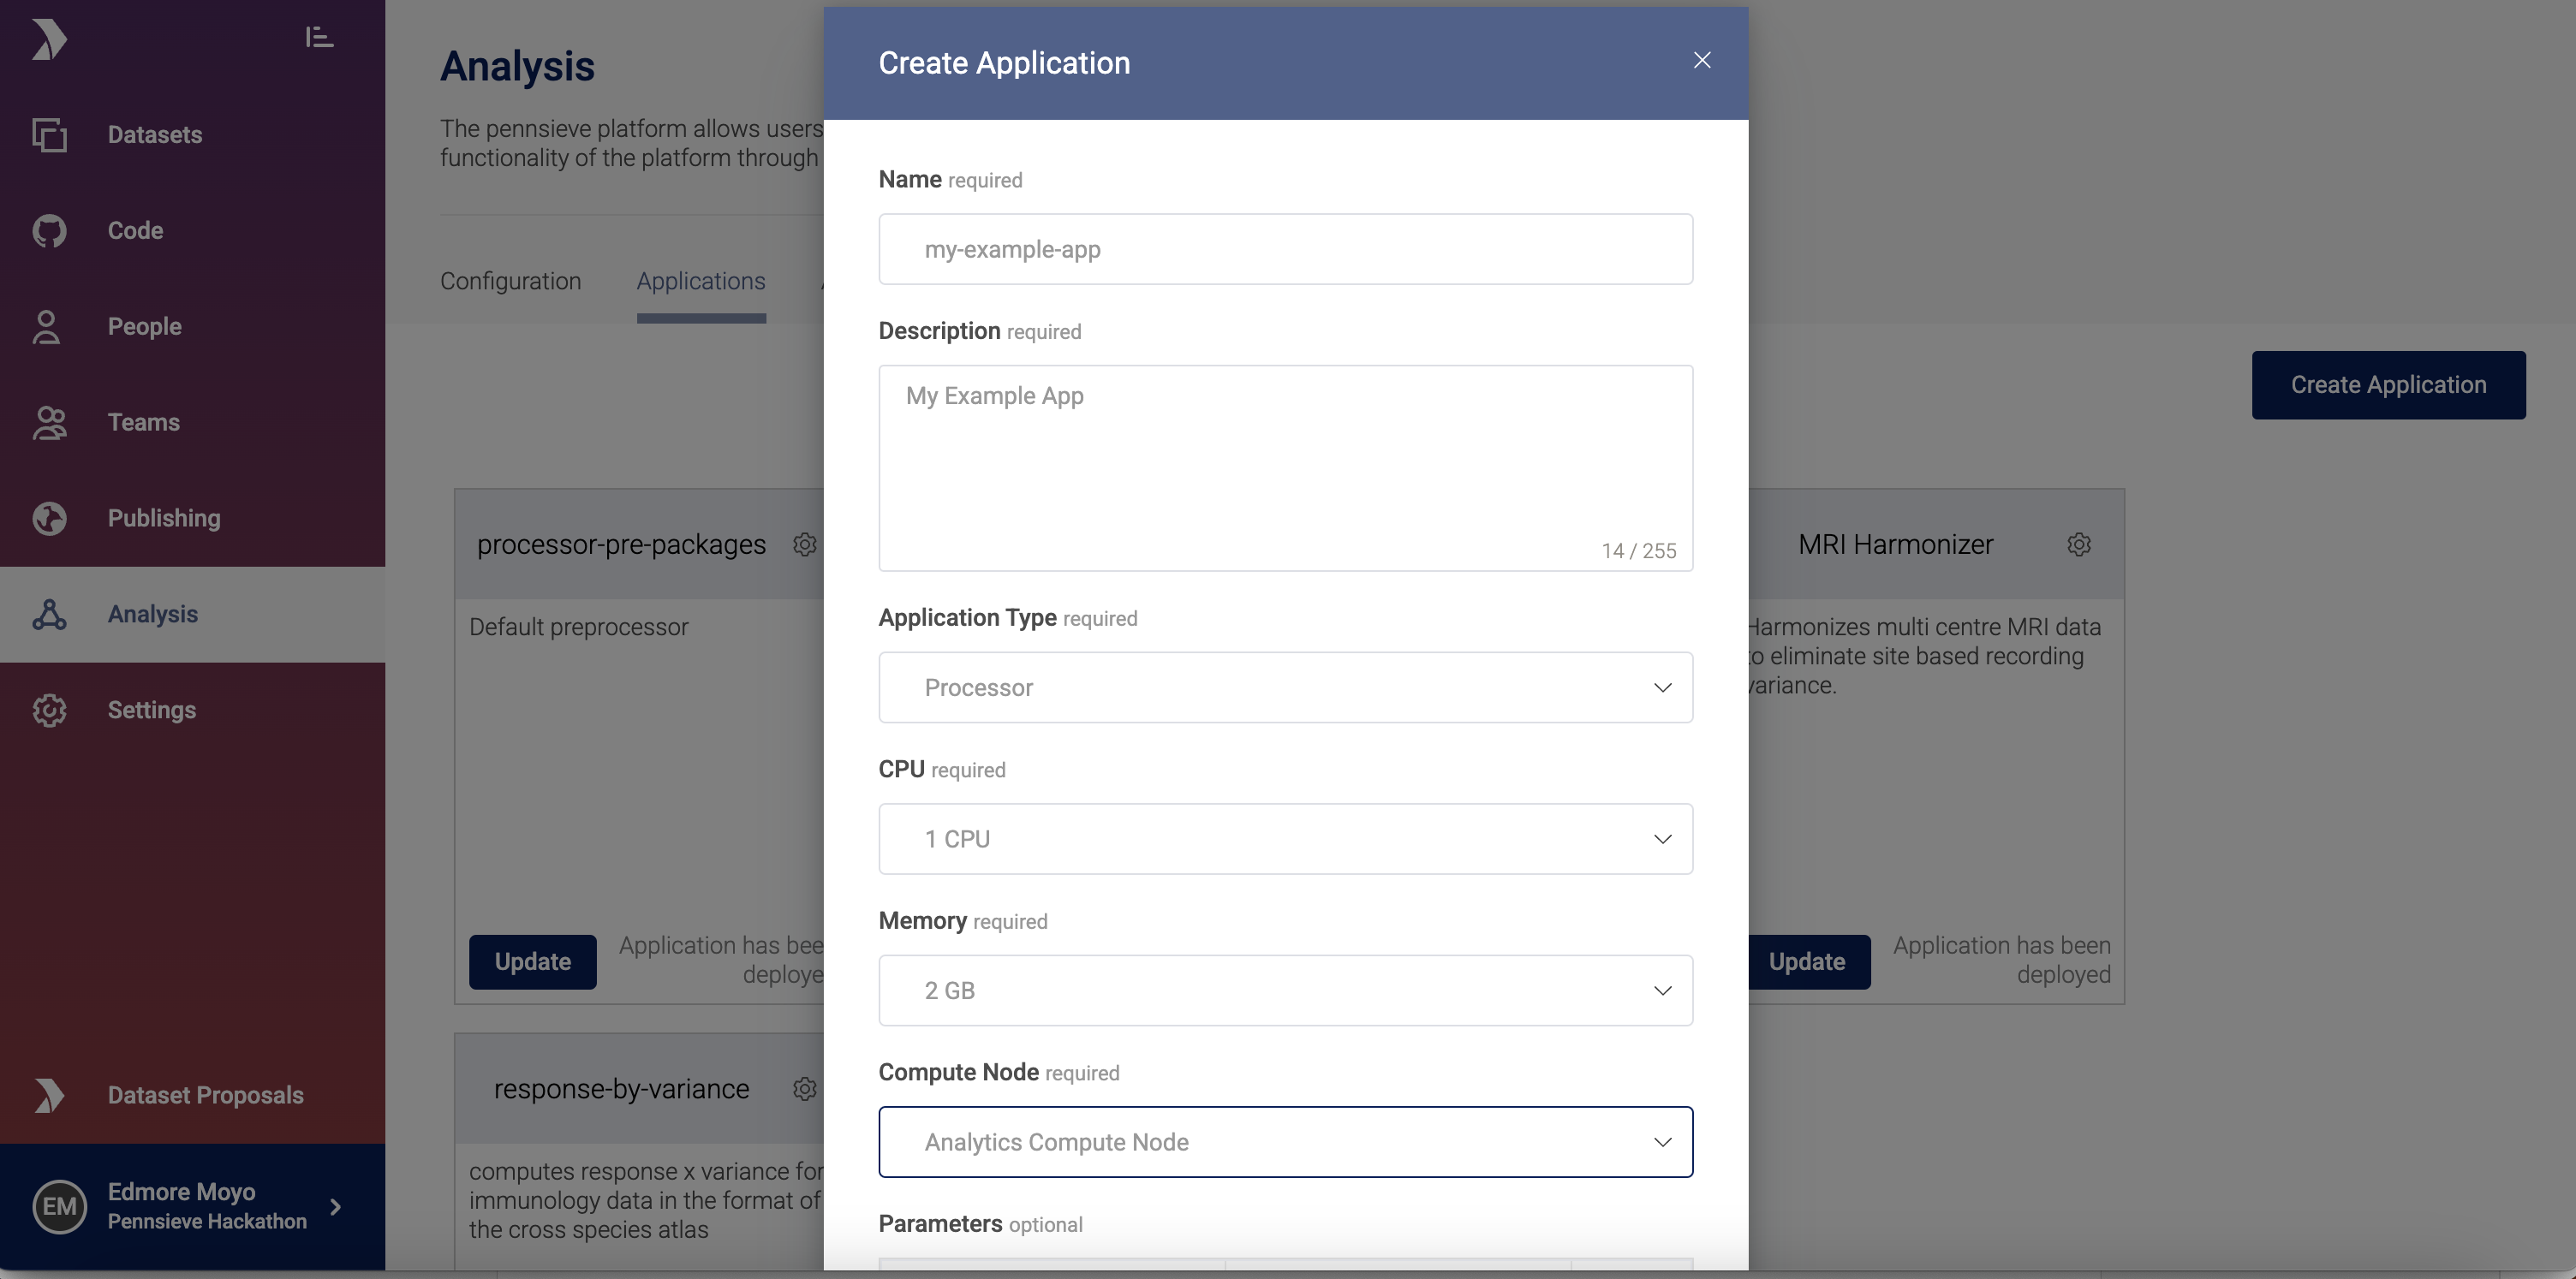
Step 2: Complete the Registration Form
Provide the following information:
Required Fields
- Name: Unique identifier for your application
- Description: Clear explanation of what your application does
- Application Type: Choose one of:
- Preprocessor: Prepares data for analysis
- Processor: Performs core analytical functions
- Postprocessor: Handles output refinement
- Resource Allocation:
- CPU: Number of CPU cores required
- Memory: Amount of RAM needed (in GB)
- Compute Node Selection: Choose the compute environment
- Source Details:
- Repository URL (must be public GitHub repository)
Optional Fields
- Parameters: Environment variables your application requires during execution. These can be configured as key-value pairs that will be passed to your application at runtime.
Step 3: Submit and Monitor
- Click Create Application to submit the registration
- Monitor the application status as it progresses through registration states:
- Pending: Registration submitted
- Building: Docker image is being built
- Available: Application is ready to use
- Failed: Registration encountered an error
Default Processors
Pennsieve provides default preprocessor and postprocessor implementations for users who don't need custom versions. These are available via GitHub:
- Default Preprocessor: Handles standard data preparation tasks
- Default Postprocessor: Manages common output formatting operations
You can use these defaults and only customize the core processor component if needed.
Named Workflows
Named workflows are pre-configured workflow compositions created using Pennsieve's visual workflow builder. Unlike application-based workflows where you manually string together individual processors, named workflows allow you to:
- Visually design workflows by connecting multiple applications
- Save and reuse workflow configurations across projects
- Share standardized workflows with your team or organization
Creating a Named Workflow
- Navigate to the Workflow Builder in Pennsieve
- Select Create Named Workflow
- Use the visual interface to:
- Add applications from your registered application library
- Configure the execution order and data flow
- Save the workflow with a descriptive name
- The named workflow becomes available for execution on your datasets
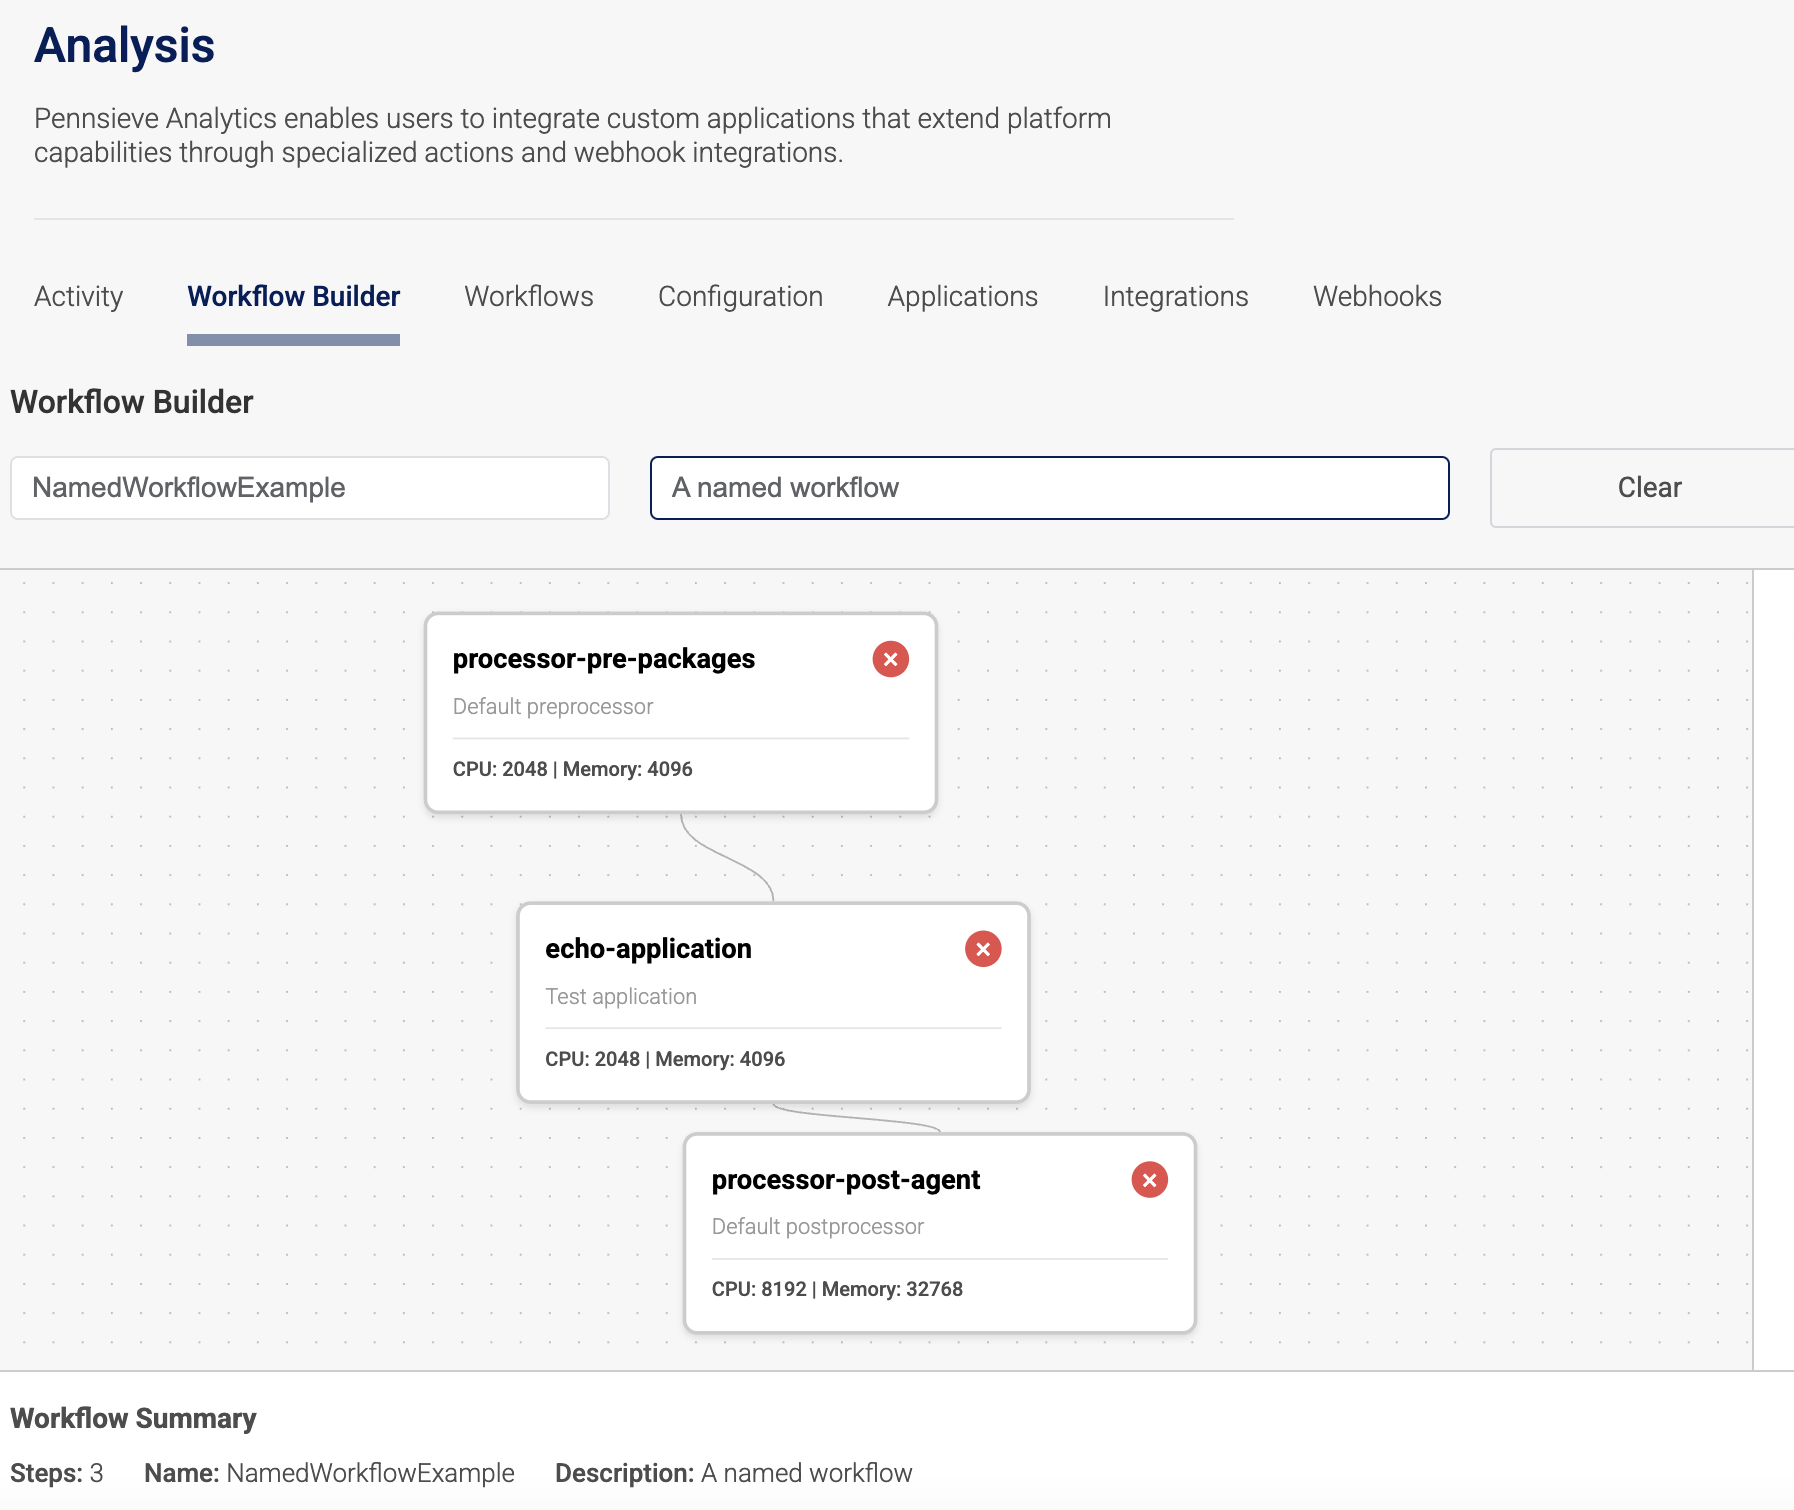
A named workflow
Using Named Workflows
Once created, named workflows appear in your workflow library and can be:
- Applied to datasets with a single click
- Modified and versioned as your analysis requirements evolve
- Executed repeatedly with consistent configuration
Current Limitations
Parameter Support: Named workflows currently do not support dynamic parameter configuration at execution time, unlike the legacy platform. This means:
- Runtime parameter modification is not available
Note: Parameter support for named workflows is actively being developed and will be available in a future release. This will enable:
- Dynamic parameter input at workflow execution time
- Reuse of single workflows with different parameter sets
Named Workflows
- Descriptive Naming: Use clear, descriptive names that indicate the workflow's purpose
- Documentation: Document the workflow's intended use case and expected inputs
- Modularity: Design workflows with reusable components
- Validation: Test workflows with sample data before production use
- Versioning: Create new versions rather than modifying production workflows
Troubleshooting
Application Registration Failures
If your application fails during registration:
- Check Docker Build: Ensure your Dockerfile builds successfully locally
- Verify Repository Access: Confirm the GitHub repository is public
Workflow Execution Issues
If a workflow fails during execution:
- Check Input Data: Verify input data matches the expected format
- Review Application Logs: Check individual application logs for errors
- Verify Connections: Ensure data flows correctly between applications
- Check Resource Limits: Confirm sufficient CPU/memory is allocated
- Test Individual Applications: Verify each application works independently
Updated 3 months ago