Setup and Configuration
How to register an external cloud provider (AWS) as a compute resource for analytics
Running analytics pipelines on Pennsieve requires connecting an external compute environment — referred to as a compute resource — to your workspace. This page walks you through the key concepts and the steps to register an AWS account as a compute resource.
Overview
Pennsieve analytics workflows run on infrastructure you control. Rather than executing pipelines on Pennsieve's own servers, you register your own cloud account so that data processing happens within your environment. This gives you full control over costs, security boundaries, and the scale of compute available to your pipelines.
The registration flow has three steps:
- Register a compute resource — Link your cloud account (e.g., an AWS account) to Pennsieve.
- Create a compute node — Provision the orchestration infrastructure within the registered resource.
- Run workflows — Execute analytics pipelines on the provisioned compute node.
A single compute resource can be shared across multiple workspaces, but each workspace gets its own compute node.
Key Concepts
Compute Resource
A compute resource is the cloud account or environment where analytics pipelines run. This can be a personal computer, a cloud account (AWS, Azure, or Google Cloud), or an HPC cluster. Currently, Pennsieve supports AWS accounts as compute resources.
Compute Node
A compute node is the orchestration infrastructure provisioned inside a compute resource. It manages the execution of workflow components (applications and processors). Each registered compute resource within a workspace can have one compute node.
Prerequisites
Before registering a compute resource, make sure you have the following installed and configured:
- Pennsieve Agent — The CLI tool used to interact with the Pennsieve platform. Confirm it is configured for the correct workspace (see step 1 below).
- AWS CLI — Required for AWS-based compute resources. Install it from the AWS CLI documentation.
- AWS Profile — An AWS CLI profile configured for the account you want to register. Create one using
aws configure --profile <profile-name>.
Registering an AWS Compute Resource
Step 1 — Verify Your Workspace
Confirm that the Pennsieve Agent is pointed at the workspace where you want the compute resource registered:
pennsieve whoami
If the output does not show the expected workspace, reconfigure the agent before proceeding.
Step 2 — Register the Compute Resource
Run the following command to register your AWS account:
pennsieve account register --type <accountType> --profile <profile>
| Flag | Default | Description |
|---|---|---|
--type | AWS | The type of compute resource. |
--profile | default | The AWS CLI profile for the target account. |
For full usage details, run:
pennsieve account register -h
Step 3 — Create a Compute Node
Once the compute resource is registered, you can create a compute node for the workspace. This provisions the infrastructure needed to run analytics workflows.
- Login to the Pennsieve platform and access the relevant workspace
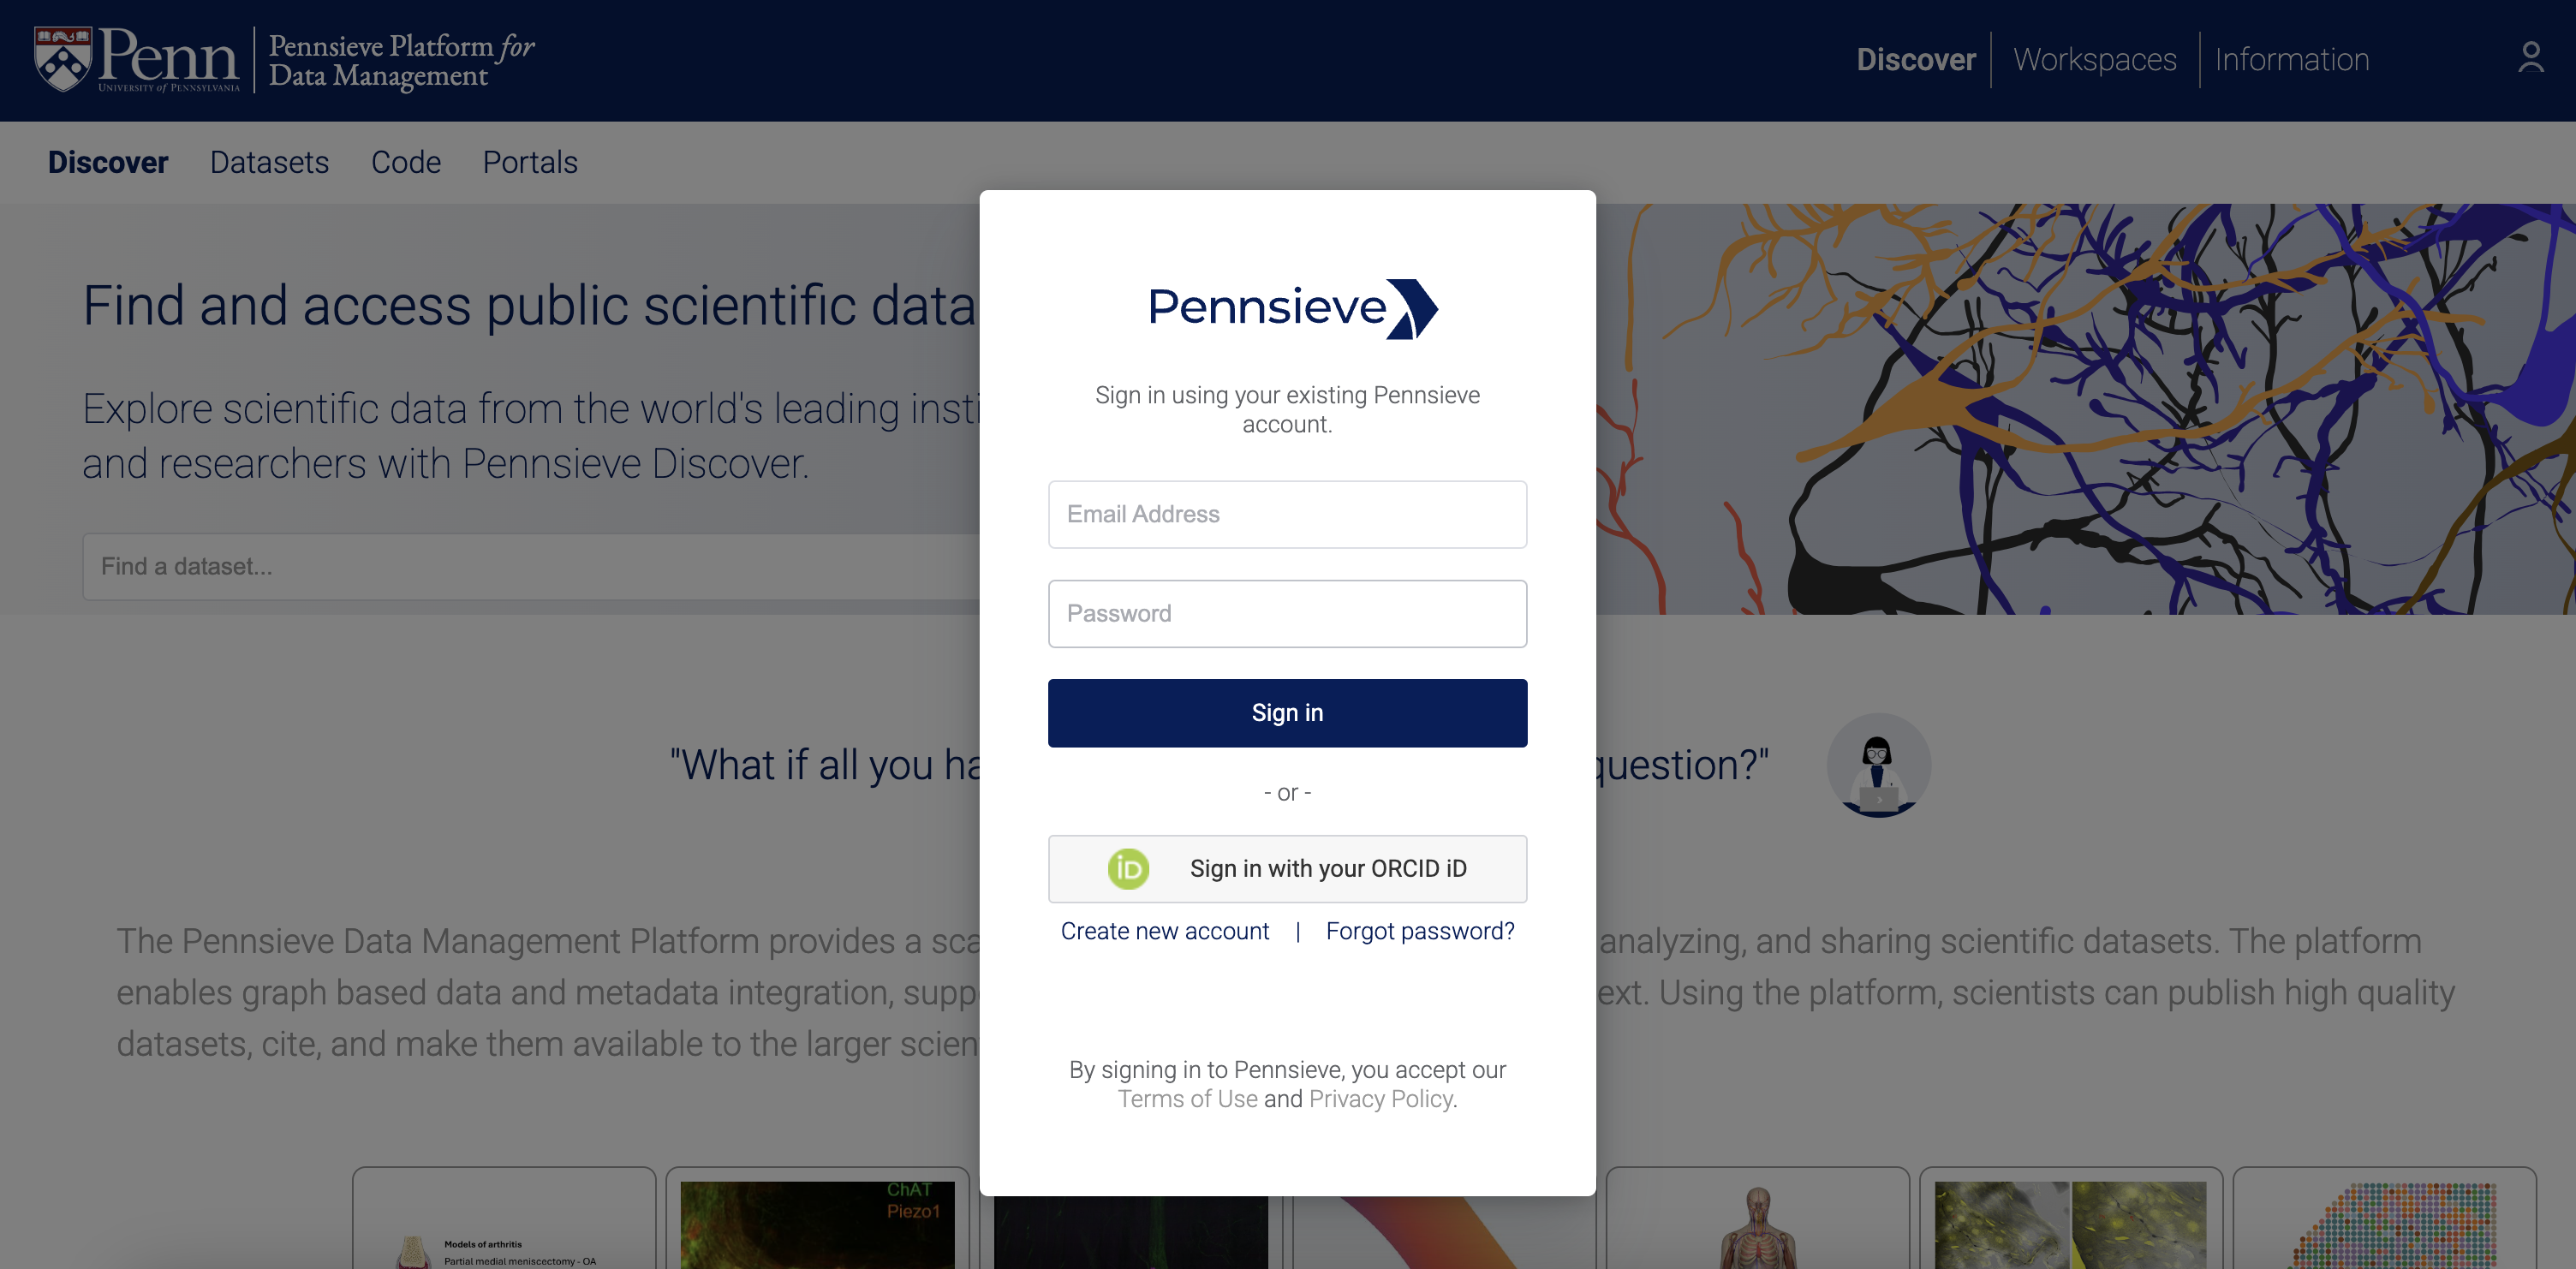
Login to Pennsieve

Access Workspace
- Navigate to configuration:
Analysis > Configuration
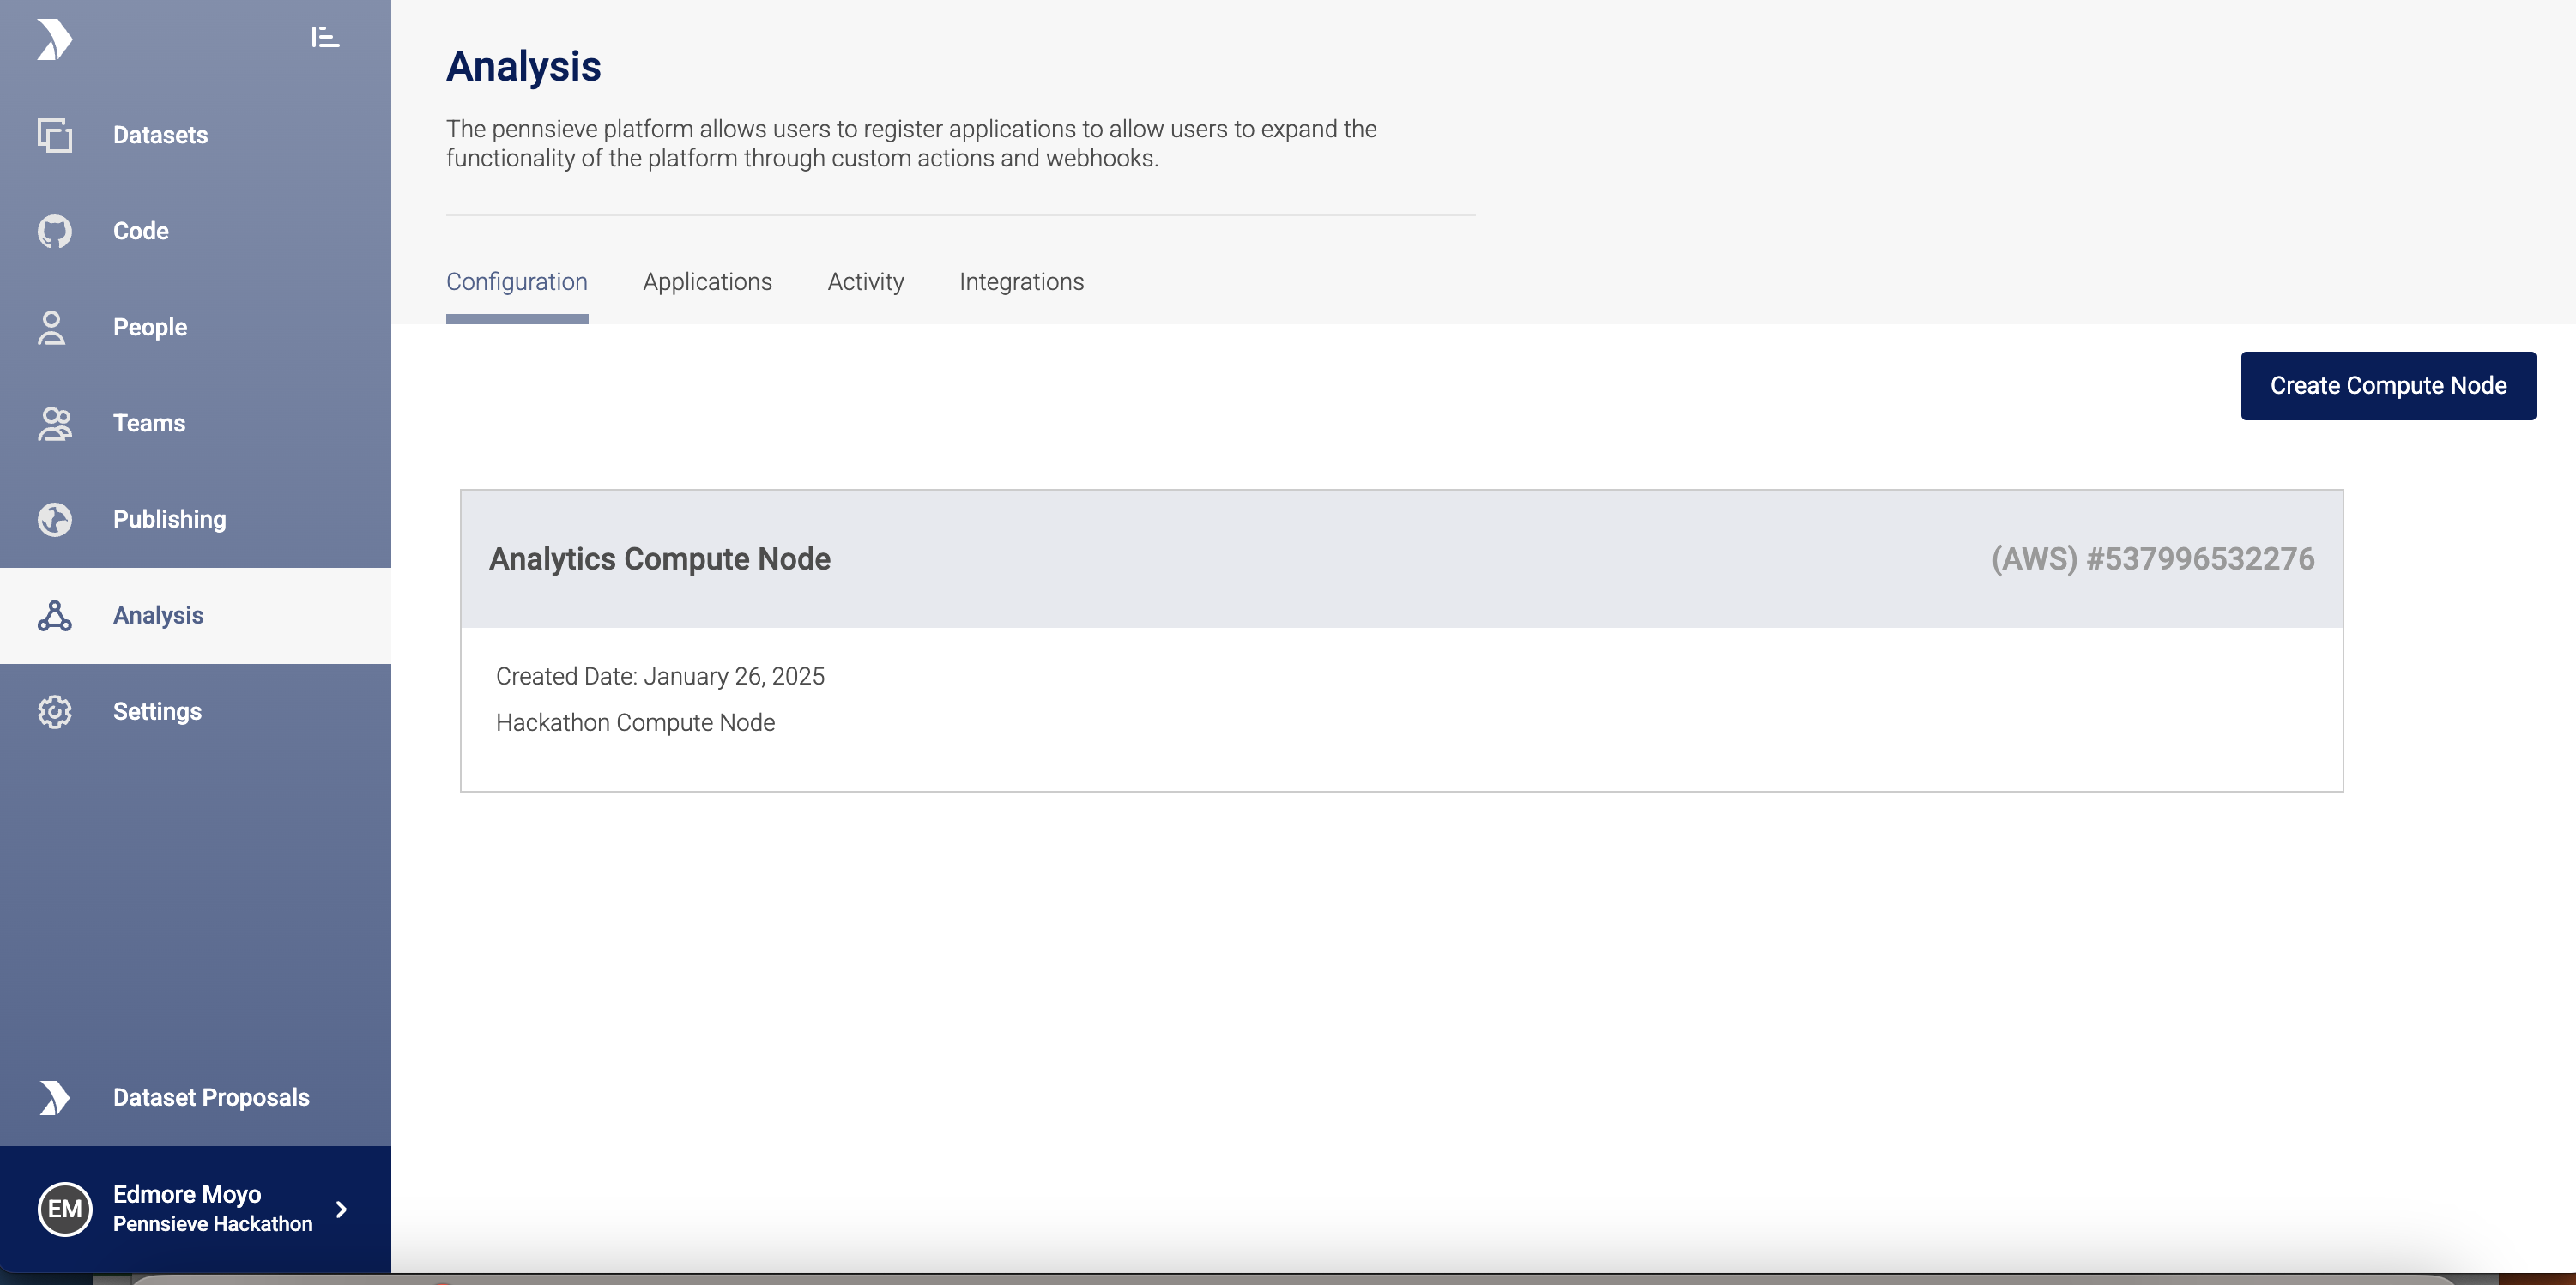
View Compute nodes
-
Click on
Create Compute Nodeto bring up the creation form -
Complete the form with the required details:
NameandDescriptionand select the Compute Resource from theAccountdropdown -
Click
Create Compute Nodeto submit the form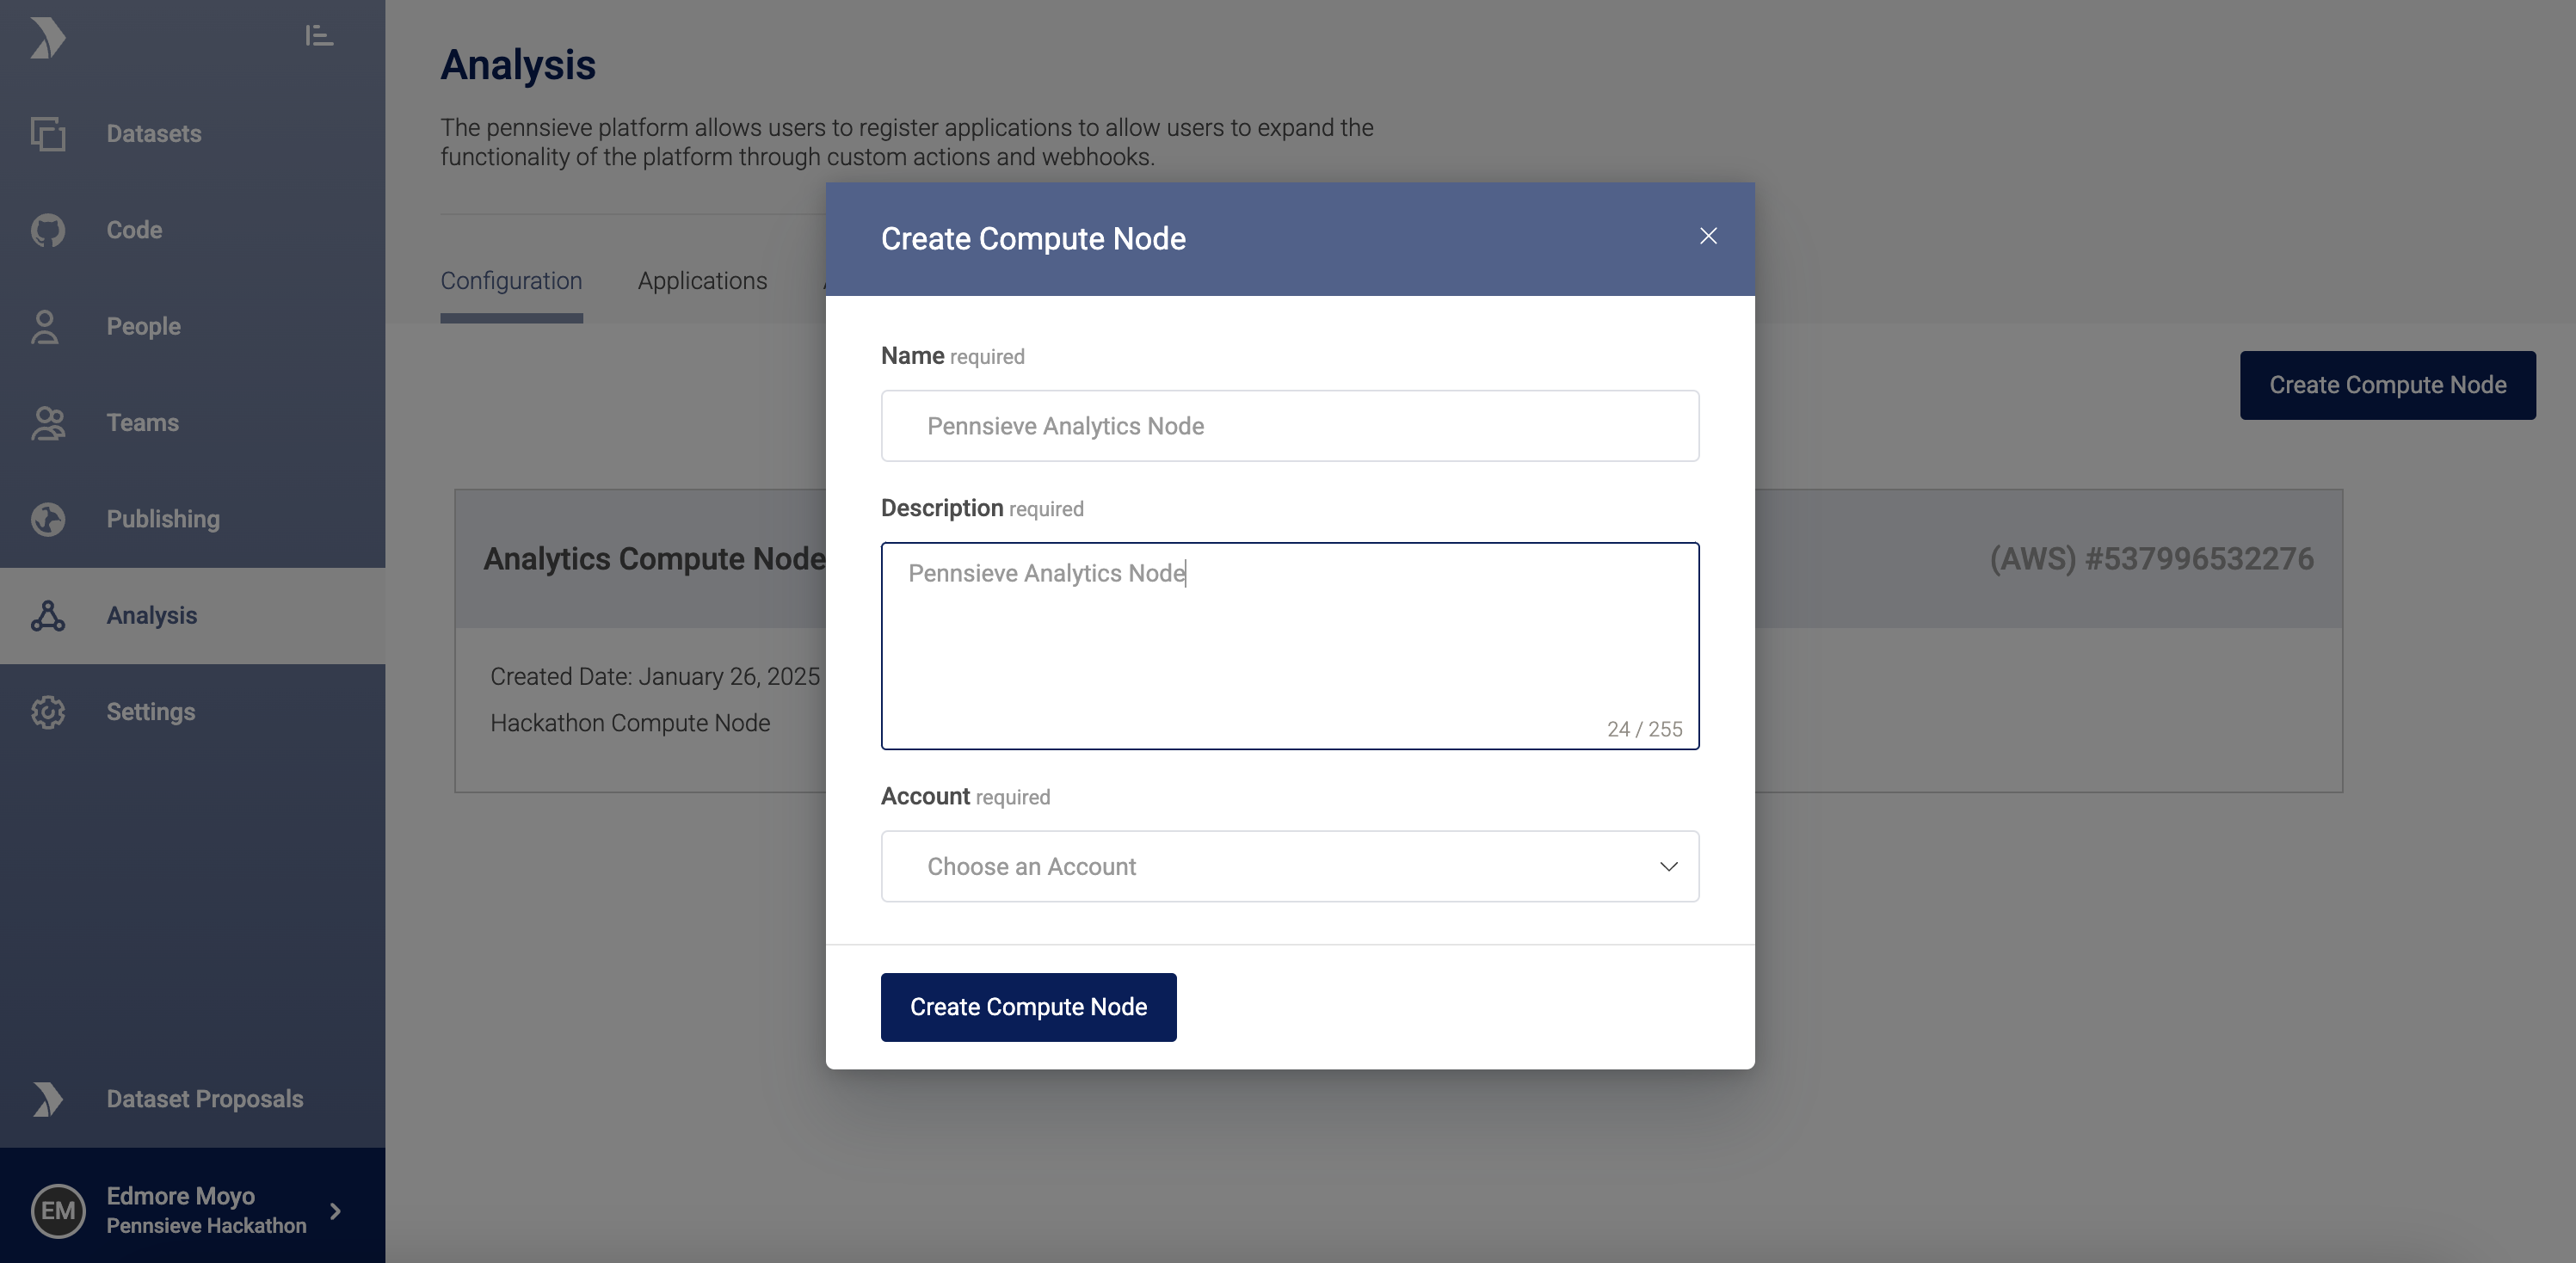
Create Compute node
Updated 5 months ago