
Creating an Image Preview
How to run a Pennsieve Analysis Workflow so an image becomes viewable on the Orthogonal Viewer — Pennsieve's Neuroglancer-based 2D/3D viewer.
- Nifti Asset Processor.nii · .nii.gz
- Ome-Tiff Assets Processor.ome.tiff
- Zipped Zarr Assets Processorzarr.zip
Before you start
You'll need the following access in place. If anything is missing, contact Pennsieve support.
- Access to the compute node — SPARC - Compute Node 2. It must be shared with you.
- Permissions on the dataset that contains the files you want to convert.
Walkthrough
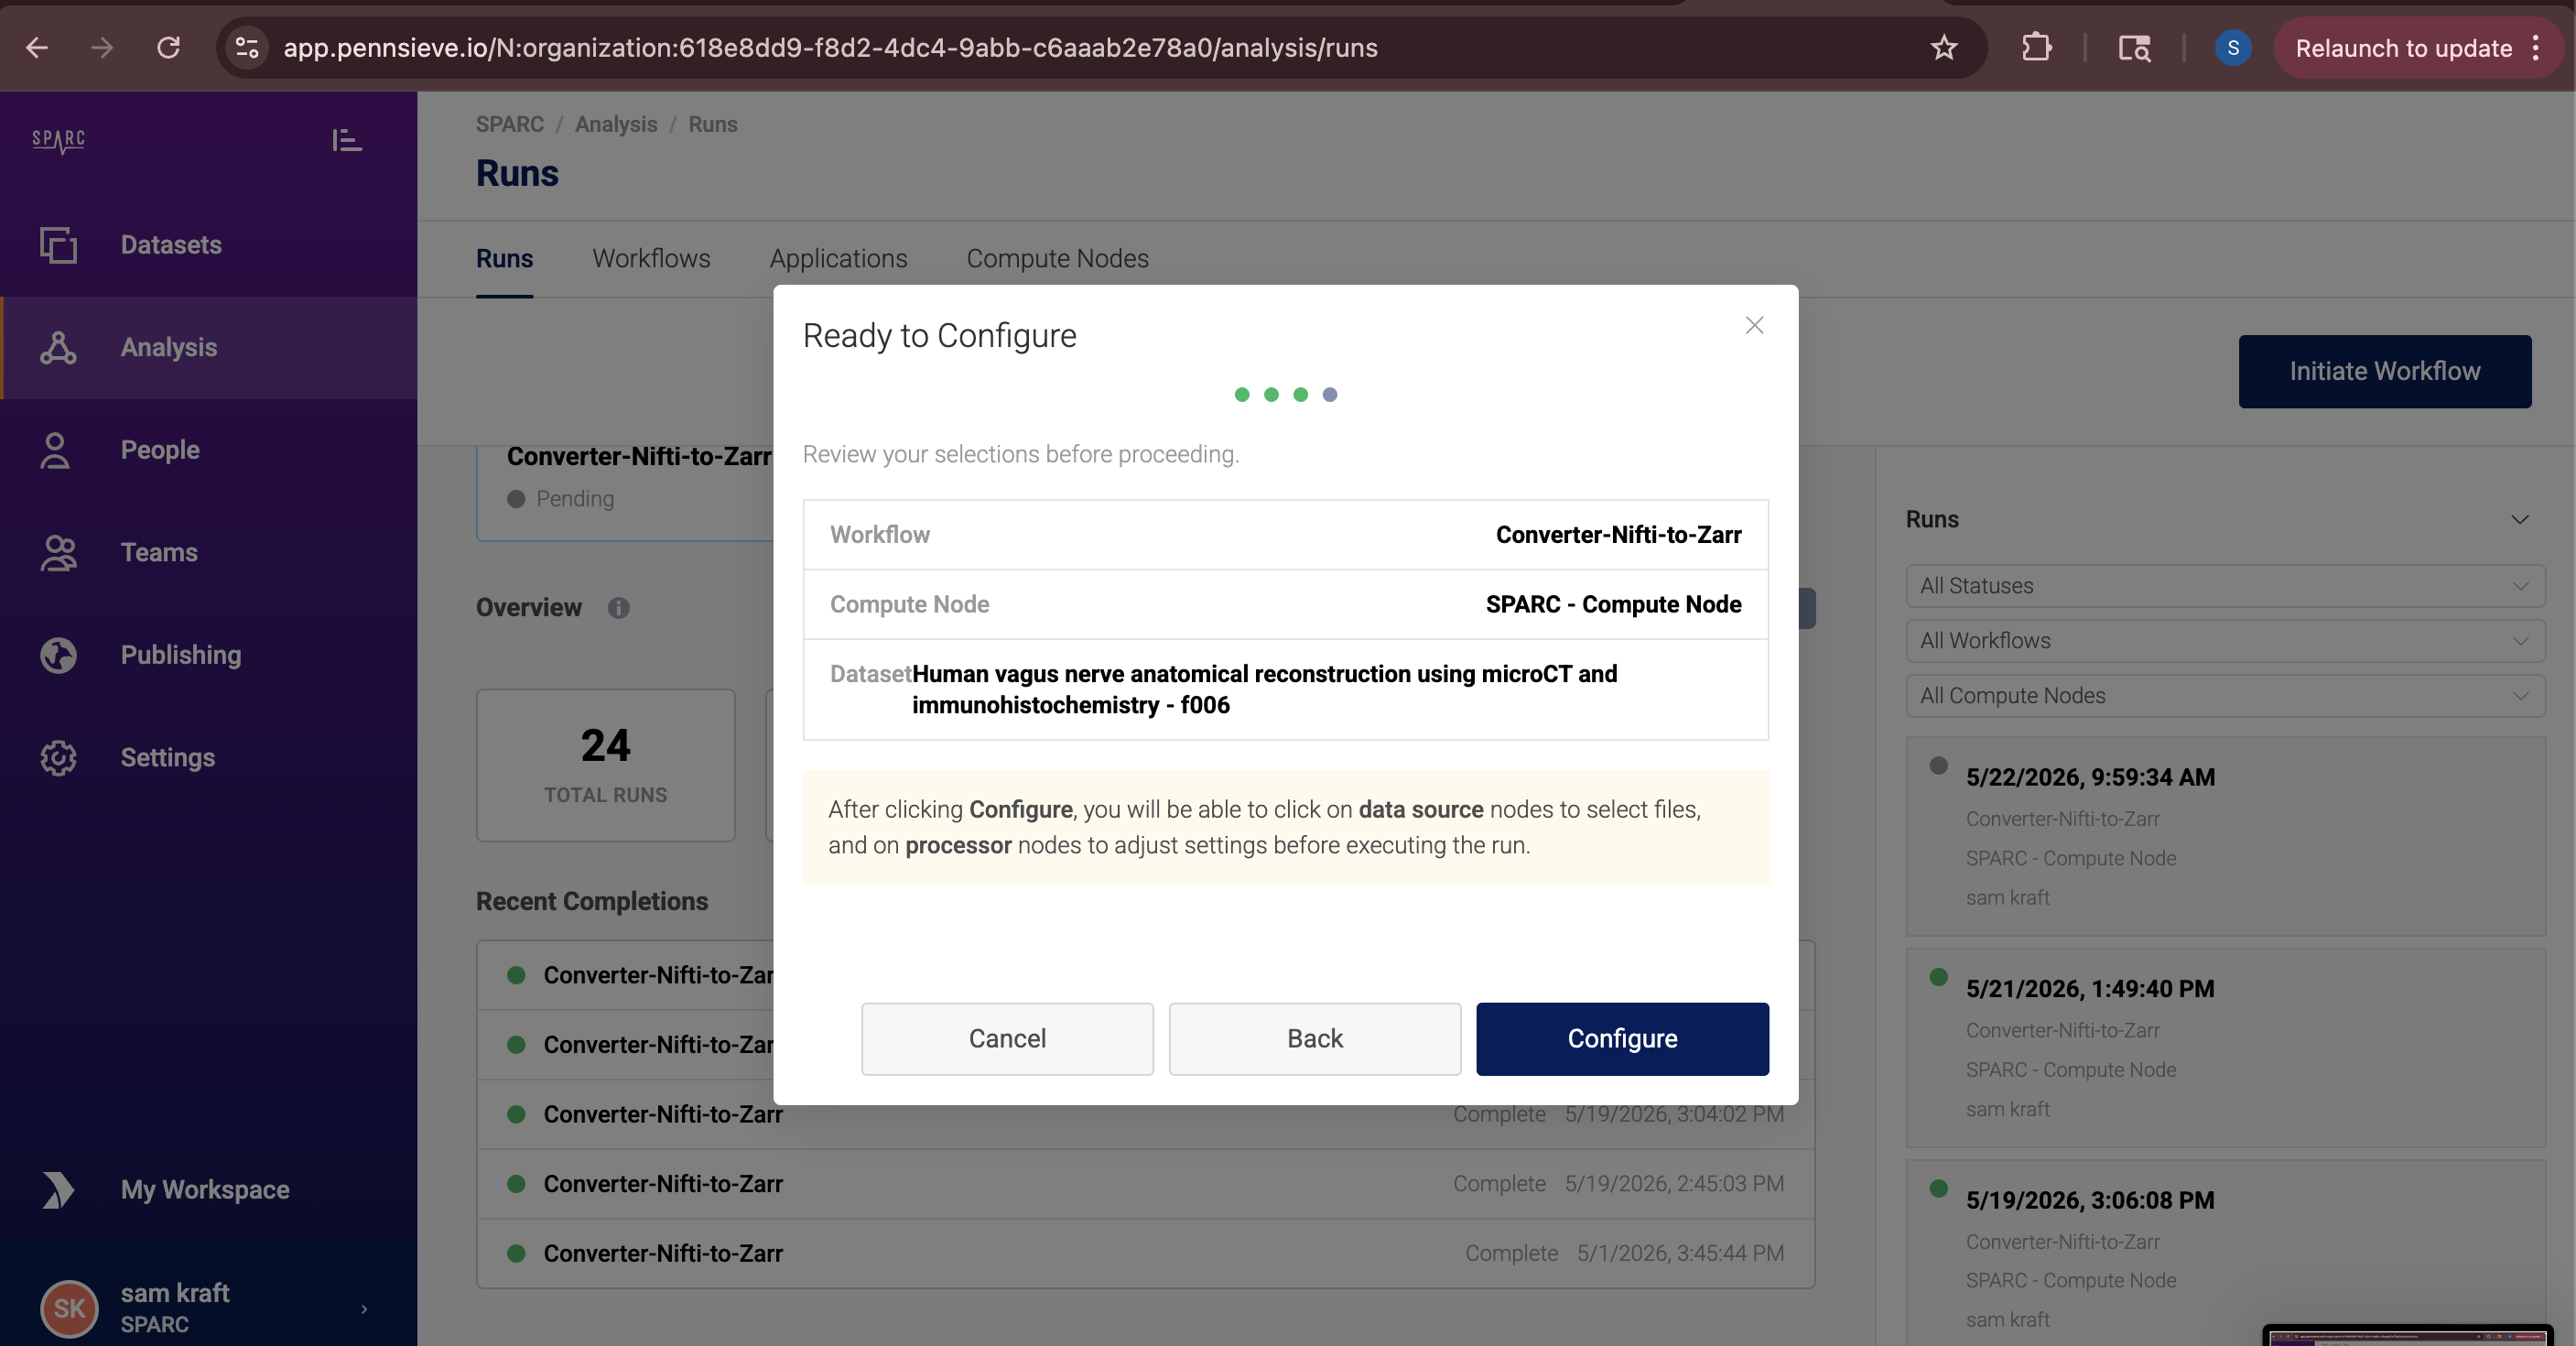
Configure the output asset
There are two Pennsieve Package Asset boxes for each workflow — one creates an explorable preview of the image, the other creates a small thumbnail for the Gallery. Set the ASSET_TYPE on both.
Box connected to the Zarr Thumbnail Processor (left panel)
ASSET_TYPE → "thumb"
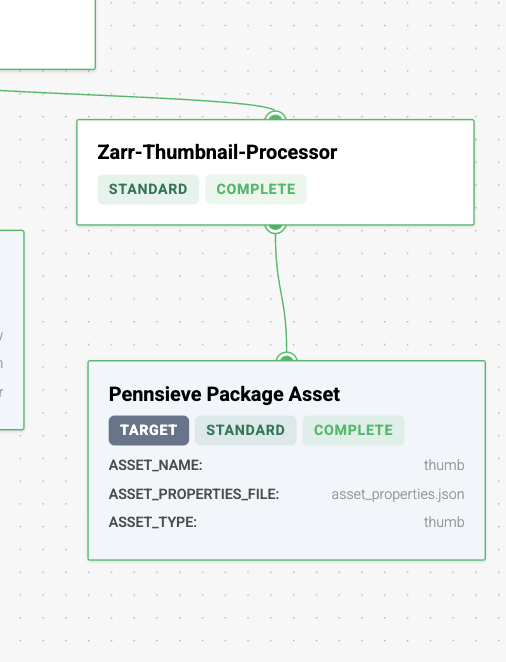
Box underneath the first processor, on the right — titled after your image type (proccessor-unzipp, Pennsieve/processor_tiff_zarr_converter, or Pennsieve/Nifti-To-Zarr-Conversion)
ASSET_TYPE → "ome-zarr"
Execute the workflow
When everything is configured, click Execute Workflow in the top right.
That's it — the workflow is now running. Once it completes, the converted files will be available for preview within the Pennsieve platform.
Tip
You can re-run a workflow with your same configuration by selecting it in Runs and clicking "Re-run with configuration" in the bottom right.
Troubleshooting
Compute node not visible
The SPARC - Compute Node must be shared with you. Contact Pennsieve support to request access.
Dataset not visible
You need permissions on the dataset containing the source files. Request access from the dataset owner.
Can't select a folder
Expected — source files must currently be selected one at a time.